Mobile NixOS
Running NixOS on mobile devices like the PinePhone
[nixos nixos-23.05 Installing Tow-Boot
Tow-Boot instead of U-Boot (you can read the differences here) so we’ll need to make sure we install it on the eMMC on the PinePhone by using the release file from their Github here. For the default PinePhone (non-Pro) we would use pine64-pinephoneA64-2021.10-005.tar.xz from there then extract the archive there are steps for flashing the device here.
Creating a bootable microSD card
There are handy installer images of Mobile NixOS for some devices like the PinePhone which we can download from here we’ll use this page to install the image to the microSD that we’ll then use to install to the phone’s eMMC.
Booting from microSD card
To boot from a microSD card when using Tow-Boot is different then the default firmware on the eMMC where we will need to hold the Volume button down instead of just installing it then booting. At his point we’ll be taken to the installer for Mobile NixOS which we’ll do the following:
- Connect to a Wi-Fi network
- Choice to use FDE (Full Disk Encryption)
- Choice which interface to use (GNOME Phosh or Plasma Mobile)
- Wait for a while!
Booting from Mobile NixOS
| Settings | Overview |
|---|---|
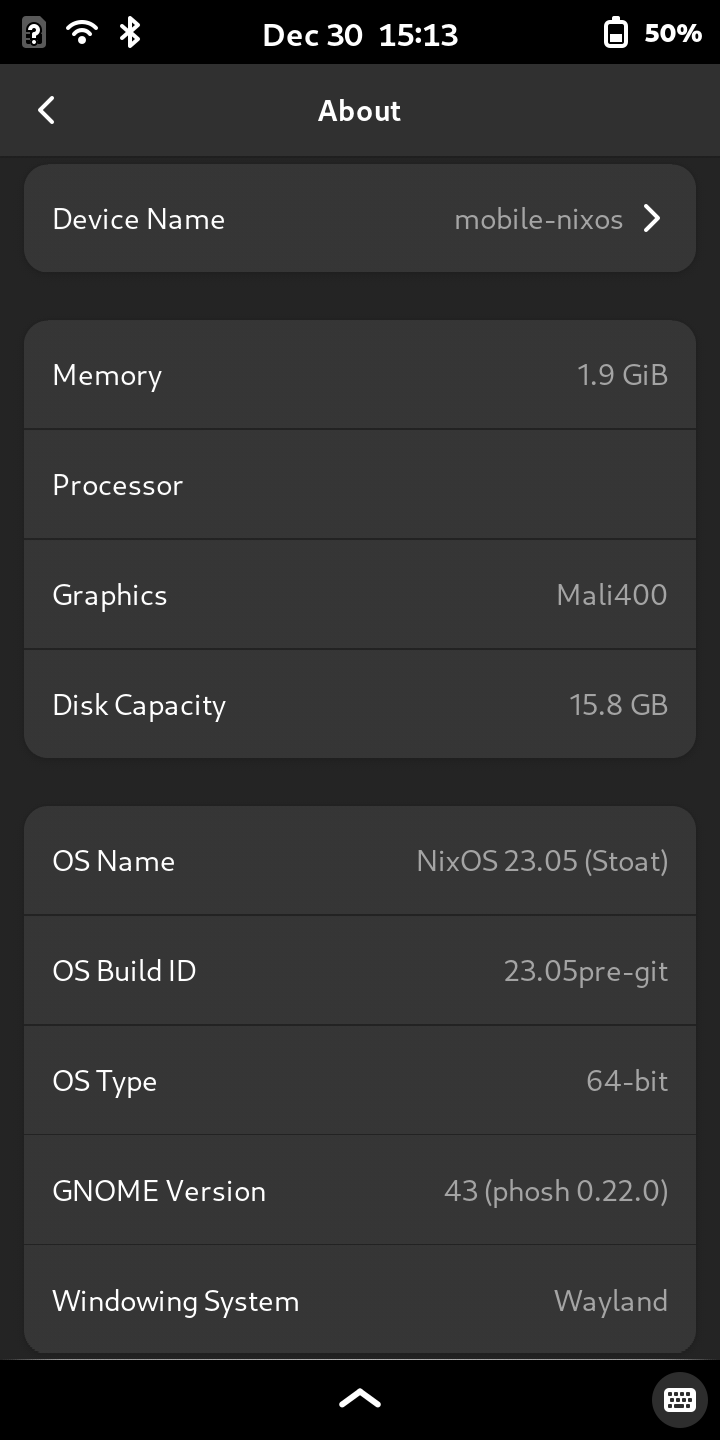 | 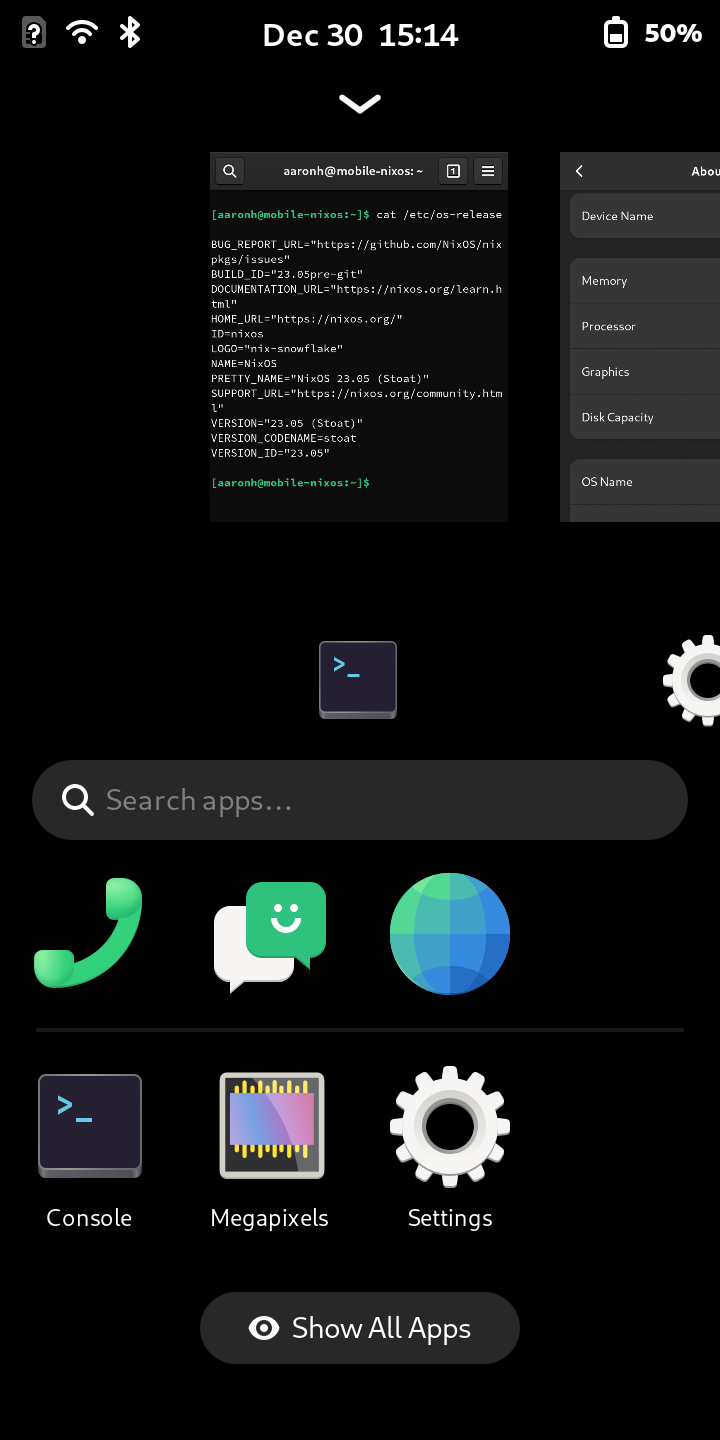 |
Making changes in the OS
Similar to how you would edit a NixOS installation you would just edit the /etc/nixos/configuration.nix and this is true for Mobile NixOS as it is the OS at the heart. So let’s do that below:
sudo -i
nano /etc/nixos/configuration.nix
In this example I’ll add some applications that will be handy both when I SSH into the system and use it:
    packages = with pkgs; [
      gnome.gnome-clocks
      grim
      portfolio-filemanager
    ];
  };
Then we’ll enable SSH to log into the phone remotely:
  # SSH
  services.openssh = {
    enable = true;
    };
And finally we’ll set our timezone:
time.timeZone = "America/Denver";
Now we’ll save (with Ctrl+O and Enter) and close nano (with Ctrl+X).